图像处理教程(五):深入解析算术运算、位运算与掩码处理技术
在这个图像处理系列的第五部分中,我们将更多地讨论Python中的算术运算、位运算以及图像掩码处理。
建议在开始这段学习之旅之前,先阅读一遍之前的文章。
创建环境
以下代码行在所有给出的应用程序中都会使用。我们在此处包含它们,以便您不必阅读大段的代码。
帮助减少代码杂乱:)
# 导入numpy用于处理像素
import numpy as np

# 导入参数解析器
import argparse

# 导入OpenCV模块
import cv2


# 初始化参数解析器对象
ap = argparse.ArgumentParser()

# 添加参数,为用户提供选项
# 输入图像路径
ap.add_argument("-i", "--image", required=True, help="图像路径")

# 解析参数
args = vars(ap.parse_args())

# 通过args读取图像位置
# 并使用cv2.imread读取图像
image = cv2.imread(args["image"])
使用Python对图像进行算术操作
算术运算可以改善图像的许多方面。
我们可以运用光照、阴影以及红色、蓝色和绿色通道增强来进行处理。
许多应用程序中的图像滤镜都使用相同的方法来改变和美化照片。
那么,让我们开始编写代码吧!
首先,为了了解像素值是否可以超过255或低于0,我们可以进行一项简单的测试,测试结果将分别限制在255和0。
# 打印图像最小值、最大值和环绕处理的详细信息
print("最大值255:", str(cv2.add(np.uint8([200]), np.uint8([100]))))
print("最小值0:", str(cv2.subtract(np.uint8([50]), np.uint8([100]))))

print("环绕处理:", str(np.uint8([200]) + np.uint8([100])))
print("环绕处理:", str(np.uint8([50]) - np.uint8([100])))
在这个例子中,我们将图像中所有的像素值增加100的强度。
# 向图像添加值为255(白色)的像素
M = np.ones(image.shape, dtype="uint8") * 100
added = cv2.add(image, M)
cv2.imshow("Added", added)
cv2.waitKey(0)
通过使用NumPy模块构建一个与我们的图像大小相同的矩阵,并将其与图像相加来完成此操作。
如果我们希望让图像变暗,我们可以从图像的像素值中减去一定数值,如下所示。
# 向图像添加值为0(黑色)的像素
M = np.ones(image.shape, dtype="uint8") * 50
subtracted = cv2.subtract(image, M)
cv2.imshow("Subtracted", subtracted)
cv2.waitKey(0)
这将为您提供两种不同版本的原始图像,一种更亮,另一种更暗。
按位运算
在尝试对图像进行掩码处理时,我们经常使用位运算。
OpenCV的这一特性允许我们过滤出图像中有意义的部分。
建立
为了进行按位运算,我们首先需要两个变量或图像作为操作对象。
因此,让我们通过位运算来创建一个方形和一个圆形的位图。
请注意,按位操作需要图像为黑白格式。
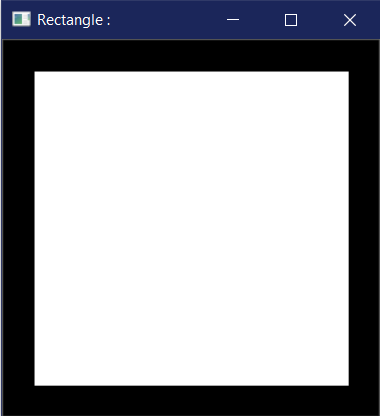
# 使用变量创建一个零值正方形
rectangle = np.zeros((300, 300), dtype="uint8")
cv2.rectangle(rectangle, (25, 25), (275, 275), 255, -1)
cv2.imshow("矩形:", rectangle)

# 使用变量创建一个零值圆形
circle = np.zeros((300, 300), dtype="uint8")
cv2.circle(circle, (150, 150), 150, 255, -1)
cv2.imshow("圆形:", circle)
您收到的输出图像应该看起来像这样。
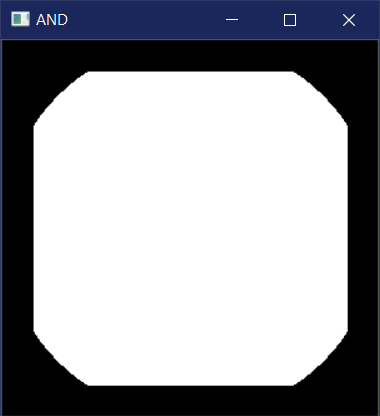
与AND操作结合
位运算加法是指对两个不同图像进行相加,并使用每个像素的与操作来决定哪个图像将被显示。
# bitwise_and函数对两个图像执行AND操作
# 对两个图像都执行
bitwiseAnd = cv2.bitwise_and(rectangle, circle)
cv2.imshow("AND", bitwiseAnd)
cv2.waitKey(0)
将圆形和正方形进行按位相加,得到的输出应该如下所示。
使用”或”操作进行选择
按位或运算提供了两幅图像的乘积,对每个像素进行按位或操作。
# bitwise_or函数对两张图像执行按位或操作
#
bitwiseOr = cv2.bitwise_or(rectangle, circle)
cv2.imshow("按位或", bitwiseOr)
cv2.waitKey(0)
当执行按位或操作时,您应该得到类似这样的结果。

使用XOR操作实现独占性
cv2 模块提供的另一个操作是异或(XOR)运算,我们可以通过 bitwise_xor 函数进行使用。
# bitwise_xor函数对两张图像执行异或操作
#
bitwiseXor = cv2.bitwise_xor(rectangle, circle)
cv2.imshow("异或", bitwiseXor)
cv2.waitKey(0)

使用NOT操作进行否定
最后,我们有否定操作,使用bitwise_not函数执行。
逻辑运算NOT只需要一张图像,因为我们这里不涉及加法或减法操作。
但是,我们在这里仍然可以两者都使用,这也是一个选择。
# bitwise_not函数对图像执行按位非操作
#
bitwiseNot = cv2.bitwise_not(rectangle, circle)
cv2.imshow("按位非", bitwiseNot)
cv2.waitKey(0)
在这种情况下,圆形位于正方形内部,因此不可见。

使用Python OpenCV进行图像掩码处理
掩码在图像处理中用于输出感兴趣的区域,或者简单地说,我们所关注的图像部分。
我们倾向于使用按位操作进行掩码处理,因为它使我们能够丢弃我们不需要的图像部分。
那么,让我们开始掩码操作吧!
对图像进行掩码处理的过程
在我们的掩码处理过程中,我们有三个步骤:
- 创建一个与图像尺寸相同的黑色画布,并将它命名为掩码。
- 通过在图像上绘制任何形状并为其提供白色,改变掩码的值。
- 对图像和掩码执行按位相加操作。
按照同样的过程,让我们创建几个掩码并将它们应用在我们的图片上。
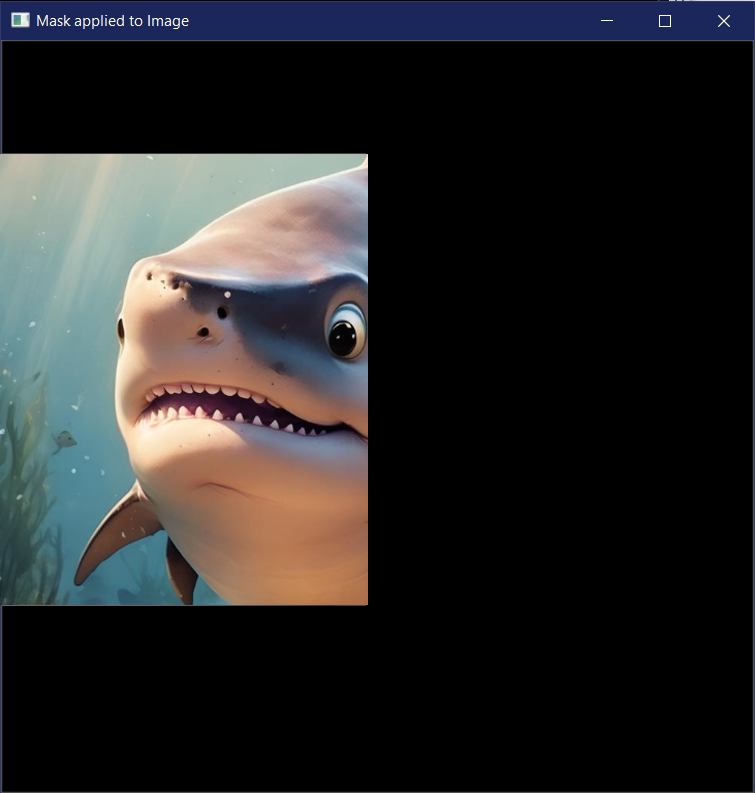
首先,让我们使用一个矩形掩码来进行操作。
# 创建一个与图像具有相同尺寸的掩码
# 其中每个像素的值都为0
mask = np.zeros(image.shape[:2], dtype="uint8")

# 在掩码上创建一个矩形
# 其中像素值为255
cv2.rectangle(mask, (0, 90), (290, 450), 255, -1)
cv2.imshow("掩码", mask)

# 对图像和掩码执行按位与操作
masked = cv2.bitwise_and(image, image, mask=mask)
cv2.imshow("应用掩码后的图像", masked)
cv2.waitKey(0)
现在我们用一个圆形遮罩来试试。
# 创建一个与图像尺寸相同的掩码
# 其中每个像素的值都为0
mask = np.zeros(image.shape[:2], dtype="uint8")

# 在掩码上创建一个圆形
# 其中圆形区域的像素值为255
cv2.circle(mask, (145, 200), 100, 255, -1)
cv2.imshow("掩码", mask)

# 对图像和掩码执行按位与操作
masked = cv2.bitwise_and(image, image, mask=mask)
cv2.imshow("应用掩码后的图像", masked)
cv2.waitKey(0)
如果一切顺利的话,我们应该会收到类似于这样的输出。
结论
我们终于开始进入图像处理的核心部分了,了解其中的位运算和掩码操作非常重要。
这个概念能帮助我们屏蔽掉对我们感兴趣的部分或仅接收我们感兴趣的部分图像,非常有用。
我们的进展速度还算可以,但如果你想直接跳到结尾,就请便吧!
这里有一些关于OpenCV和人脸识别的文章,以及一个关于Android和CameraX OpenCV的Java实现。
参考文献
- OpenCV官方网站
- OpenCV入门介绍
- 我的图像处理GitHub仓库
- 算术运算代码
- 位运算代码
- 掩码处理代码

