JSONサーバー(json-server)
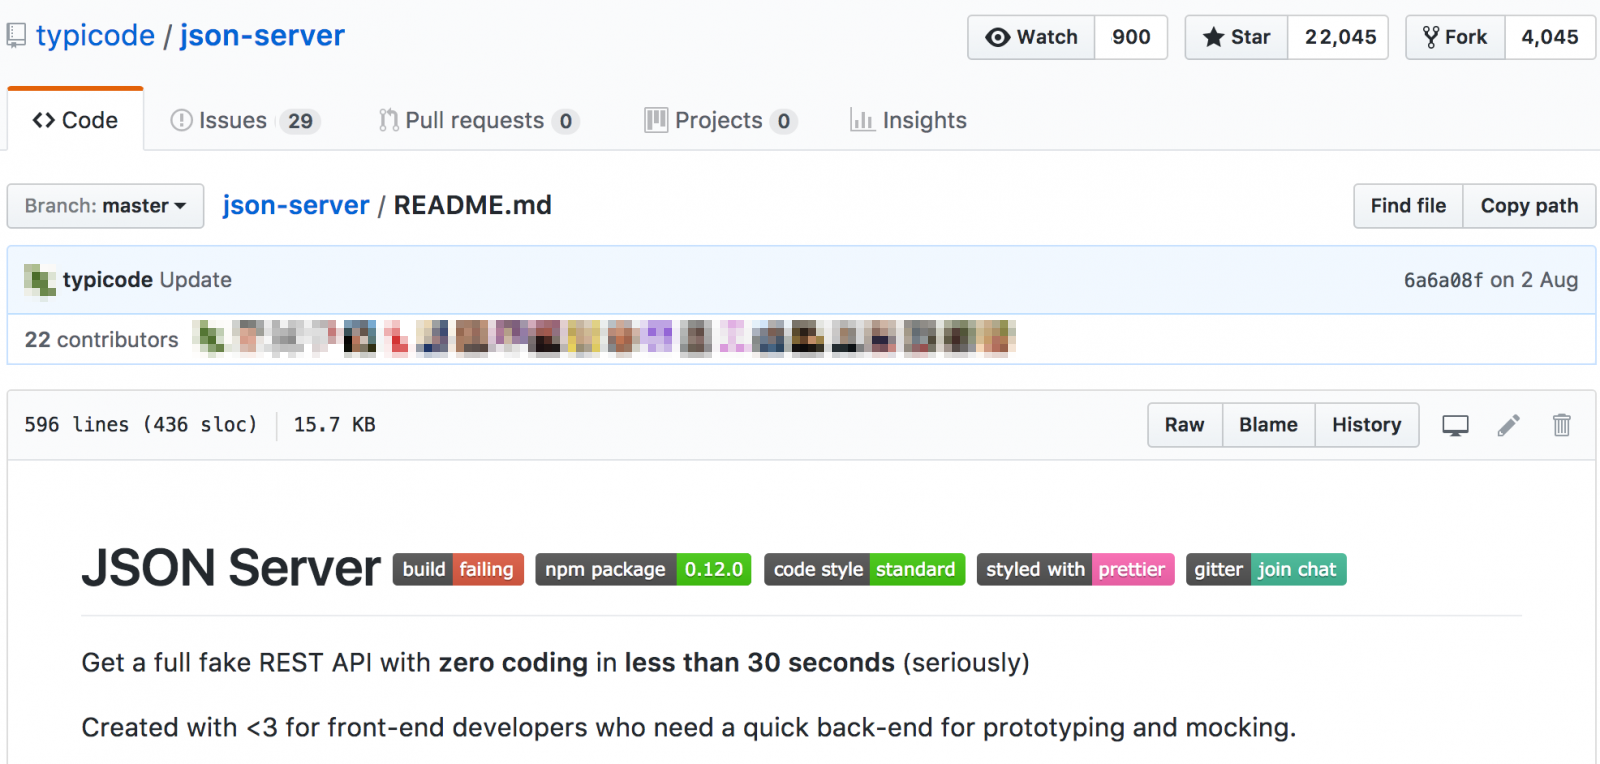
今日は非常に便利なツールであるjson-serverについて紹介します。このツールは、わずか1分でモックのRest JSONサーバーを作成することができます。通常のエンタープライズアプリケーションでは、多くのチームやサードパーティのAPIと連携する必要があります。想像してみてください。自分の作業を開始するために、サードパーティのレストフルなWebサービスを呼び出してJSONデータを取得しなければならない状況です。締め切りが迫っているため、彼らの作業が完了するのを待ってから自分の作業を始めることはできません。デモデータを取得するためにモックのレストウェブサービスを用意したい場合は、json-serverが必要なツールです。
JSON サーバー

JSON Serverをインストールする
あなたのマシンにはNPMがインストールされている必要があります。インストールされていない場合は、NPMをインストールするためにこの投稿を参照してください。以下は、json-serverをインストールするためのワンライナーコマンドで、私のマシン上での出力を示しています。
$ npm install -g json-server
npm WARN deprecated graceful-fs@3.0.8: graceful-fs v3.0.0 and before will fail on node releases >= v7.0. Please update to graceful-fs@^4.0.0 as soon as possible. Use 'npm ls graceful-fs' to find it in the tree.
/usr/local/bin/json-server -> /usr/local/lib/node_modules/json-server/bin/index.js
- bytes@2.3.0 node_modules/json-server/node_modules/raw-body/node_modules/bytes
/usr/local/lib
└─┬ json-server@0.8.10
  ├─┬ body-parser@1.15.1
  │ └── bytes@2.3.0
  ├─┬ compression@1.6.1
  │ └── bytes@2.2.0
  ├─┬ lowdb@0.10.3
  │ └─┬ steno@0.4.4
  │   └── graceful-fs@4.1.4
  ├─┬ update-notifier@0.5.0
  │ └─┬ configstore@1.4.0
  │   ├── graceful-fs@4.1.4
  │   └─┬ write-file-atomic@1.1.4
  │     └── graceful-fs@4.1.4
  └─┬ yargs@4.7.0
    ├─┬ pkg-conf@1.1.2
    │ └─┬ load-json-file@1.1.0
    │   └── graceful-fs@4.1.4
    └─┬ read-pkg-up@1.0.1
      └─┬ read-pkg@1.1.0
        └─┬ path-type@1.1.0
          └── graceful-fs@4.1.4

$
json-serverのバージョンとオプションを確認する。
$ json-server -v
0.8.10

$ json-server -help
/usr/local/bin/json-server [options] <source>

Options:
  --config, -c       Path to config file           [default: "json-server.json"]
  --port, -p         Set port                                    [default: 3000]
  --host, -H         Set host                               [default: "0.0.0.0"]
  --watch, -w        Watch file(s)                                     [boolean]
  --routes, -r       Path to routes file
  --static, -s       Set static files directory
  --read-only, --ro  Allow only GET requests                           [boolean]
  --no-cors, --nc    Disable Cross-Origin Resource Sharing             [boolean]
  --no-gzip, --ng    Disable GZIP Content-Encoding                     [boolean]
  --snapshots, -S    Set snapshots directory                      [default: "."]
  --delay, -d        Add delay to responses (ms)
  --id, -i           Set database id property (e.g. _id)         [default: "id"]
  --quiet, -q        Suppress log messages from output                 [boolean]

$
JSONサーバーを実行する
では、まずjson-serverを起動しましょう。以下は私の従業員のjsonデータを含むサンプルファイルです。
{
  "employees": [
    {
      "id": 1,
      "name": "Pankaj",
      "salary": "10000"
    },
    {
      "name": "David",
      "salary": "5000",
      "id": 2
    }
  ]
}
ここで重要なポイントは、配列の名前である「employees」です。JSONサーバーは、これに基づいてREST APIを作成します。上記のファイルでjson-serverを始めましょう。
$ json-server --watch db.json

  \{^_^}/ hi!

  Loading db.json
  Done

  Resources
  https://localhost:3000/employees

  Home
  https://localhost:3000

  Type s + enter at any time to create a snapshot of the database
  Watching...
このターミナルを閉じないでください。そうしないと、json-serverが停止してしまいます。以下には、サンプルのCRUDリクエストとレスポンスがあります。
JSONサーバーのGETリクエスト – 全ての従業員を読み取る
$ curl -X GET -H "Content-Type: application/json"  "https://localhost:3000/employees"
[
  {
    "id": 1,
    "name": "Pankaj",
    "salary": "10000"
  },
  {
    "name": "David",
    "salary": "5000",
    "id": 2
  }
]
$
IDを基にjson-serverから従業員を取得する。
$ curl -X GET -H "Content-Type: application/json"  "https://localhost:3000/employees/1"
{
  "id": 1,
  "name": "Pankaj",
  "salary": "10000"
}
$
JSONサーバーのPOST – 従業員を作成する
$ curl -X POST -H "Content-Type: application/json" -d '{"name": "Lisa","salary": "2000"}' "https://localhost:3000/employees"
{
  "name": "Lisa",
  "salary": 2000,
  "id": 3
}
$
JSON サーバーの PUT – 従業員データの更新
$ curl -XPUT -H "Content-Type: application/json" -d '{"name": "Lisa", "salary": "8000"}' "https://localhost:3000/employees/3"
{
  "name": "Lisa",
  "salary": 8000,
  "id": 3
}
$
JSONサーバーのDELETE – 従業員を削除する
$ curl -X DELETE -H "Content-Type: application/json"  "https://localhost:3000/employees/2"
{}
$ curl -GET -H "Content-Type: application/json"  "https://localhost:3000/employees"
[
  {
    "id": 1,
    "name": "Pankaj",
    "salary": "10000"
  },
  {
    "name": "Lisa",
    "salary": 8000,
    "id": 3
  }
]
$
シンプルなJSONを使って、json-serverは私たちが使用するためのデモAPIを作成します。注意点として、すべてのPUT、POST、DELETEリクエストはdb.jsonファイルに保存されます。GETとDELETEのURIは同じであり、同様にPOSTとPUTリクエストも同じです。また、シンプルなマッピングファイルでカスタムURIを作成することも可能です。
カスタムルートを持つJSONサーバー
私たちのjson-serverが使用するカスタムルートを持つファイルを作成してください。routes.json
{
  "/employees/list": "/employees",
  "/employees/get/:id": "/employees/:id",
  "/employees/create": "/employees",
  "/employees/update/:id": "/employees/:id",
  "/employees/delete/:id": "/employees/:id"
}
次のようにネイティブな日本語で言い換えることができます:
json-serverのポートを変更することもでき、第三者APIのようにシミュレーションすることもできます。リアルなサービスが準備できたら、ベースURLを変更するだけで利用可能です。以下のようにJSONサーバーを再起動してください。
$ json-server --port 7000 --routes routes.json --watch db.json
(node:60899) fs: re-evaluating native module sources is not supported. If you are using the graceful-fs module, please update it to a more recent version.

  \{^_^}/ hi!

  Loading db.json
  Loading routes.json
  Done

  Resources
  https://localhost:7000/employees

  Other routes
  /employees/list -> /employees
  /employees/get/:id -> /employees/:id
  /employees/create -> /employees
  /employees/update/:id -> /employees/:id
  /employees/delete/:id -> /employees/:id

  Home
  https://localhost:7000

  Type s + enter at any time to create a snapshot of the database
  Watching...
私たちが定義したカスタムルートを表示しています。 (Watashitachi ga teigi shita kasutamu rūto o hyōji shiteimasu.)
カスタムルートを持つJSONサーバーの例
以下は、カスタムルートを使用したコマンドとその出力の例です。
$ curl -X GET -H "Content-Type: application/json"  "https://localhost:7000/employees/list"
[
  {
    "id": 1,
    "name": "Pankaj",
    "salary": "10000"
  },
  {
    "name": "Lisa",
    "salary": 8000,
    "id": 3
  }
]

$ curl -X GET -H "Content-Type: application/json"  "https://localhost:7000/employees/get/1"
{
  "id": 1,
  "name": "Pankaj",
  "salary": "10000"
}

$ curl -X POST -H "Content-Type: application/json" -d '{"name": "Lisa","salary": "2000"}' "https://localhost:7000/employees/create"
{
  "name": "Lisa",
  "salary": 2000,
  "id": 4
}

$ curl -XPUT -H "Content-Type: application/json" -d '{"name": "Lisa", "salary": "8000"}' "https://localhost:7000/emloyees/update/4"
{
  "name": "Lisa",
  "salary": 8000,
  "id": 4
}

$ curl -XDELETE -H "Content-Type: application/json"  "https://localhost:7000/employees/delete/4"
{}

$ curl -GET -H "Content-Type: application/json"  "https://localhost:7000/employees/list"
[
  {
    "id": 1,
    "name": "Pankaj",
    "salary": "10000"
  },
  {
    "name": "Lisa",
    "salary": 8000,
    "id": 3
  }
]
$
JSONサーバーは、ソート、検索、ページネーションなどの他の便利なオプションを提供します。これがjson-serverのすべてであり、デモのRest JSON APIを作成する必要があるときにはいつもこのツールを使っています。参照:json-server GitHub

