C++におけるforeachループ
以下の文を日本語で言い換えてください(オプションは一つだけ):
「Introduction」
C++でのforeachループ、具体的には範囲ベースのforループはC++11で導入されました。このタイプのforループ構造は、反復可能なデータセットのトラバースを容易にするために利用されます。これは初期化プロセスを除外して、イテレータではなく要素ごとにトラバースします。それでは、このforeachループ構造について詳しく見てみましょう。
C++におけるforeachループの動作
基本的に、for-eachループは配列、ベクター、または他のデータセットの要素を反復処理します。これはループ内で宣言された変数iteratorに現在の要素の値を割り当てます。構文を詳しく見てみましょう。
for(type variable_name : array/vector_name)
{
    loop statements
    ...
}
私たちが見るように: (Watashitachi ga miru yō ni)
- During the loop initialization, the elemental variable declaration is the part where we need to declare the variable which will iterate over the array or vector. Here, the type is the data type of the variable_name
- array/vector name is the name of the respective data set over which the loop will iterate,
- loop statements are the different operations which the user can choose to perform over the corresponding elements with the use of the iterating variable.
注意事項:変数のデータ型を、配列やベクトルと同じくらいに保つことが提案されています。データ型が異なる場合、要素は型変換されてから変数に格納されます。
foreachループの例
C++で配列のforeachループの例
以下に示すコードは、C++でのfor-eachループの使用例を示しています。
#include<iostream>
using namespace std;
int main()
{
    int arr[]={1,2,3,4,5};   //array initialization
    cout<<"The elements are: ";
    for(int i : arr)
    {
    	cout<<i<<" ";
    }
    return 0;
}
出力:
The elements are: 1 2 3 4 5
コードを細かく解析して、一行ずつ見てみましょう。
- An array arr[] is initialized with some values {1 , 2 , 3 , 4 , 5}
- Inside the loop structure, ‘i’ is the variable that stores the value of the current array element
- arr is the array name which also serves as the base address of the respective array
- As we can see, printing ‘i’ for each iteration gives us the corresponding array elements in contrast to the array indices in case of normal for loop
注意してください:変数「i」を宣言する際に、intの代わりに自動データ型(auto)を使用することもできます。これにより、変数の型が配列の型から推測され、データ型の衝突が起こりません。
例えば:
#include<iostream>
using namespace std;
int main()
{
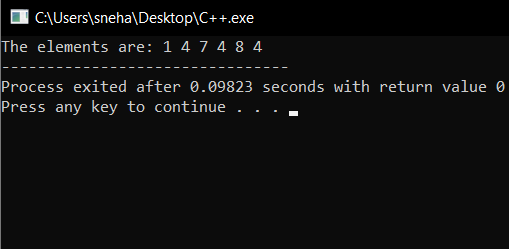
int array[]={1,4,7,4,8,4};
cout<<"The elements are: ";
for(auto var : array)
{
cout<<var<<" ";
}
return 0;
}
出力:
2. C++におけるベクター用のforeachループの例
以下のコードは、ベクトルを繰り返し処理するためのfor-eachループの使用例を示しています。
#include<iostream>
#include<vector>
using namespace std;
int main()
{
    vector<int> vec={11,22,33,44,55,66};
    cout<<"The elements are: ";
    for(auto var : vec)
    {
    	cout<<var<<" ";
	}
    return 0;
}
出力:
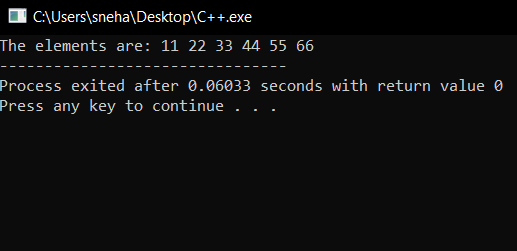
ベクトルに対するfor-eachループは、配列に対するものと同じ方法で動作します。さらに、ベクトルの宣言、初期化、およびそれに対して行われる異なる操作が唯一の違いです。
C++でのforeachループの利点と欠点
1.foreachループの利点
- It eliminates the possibility of errors and makes the code more readable.
- Easy to implement
- Does not require pre-initialization of the iterator
2. foreach ループのデメリット
- Cannot directly access the corresponding element indices
- Cannot traverse the elements in reverse order
- It doesn’t allow the user to skip any element as it traverses over each one of them
結論
C++のforeachループにはそれぞれ長所と短所があります。コードの読みやすさは向上しますが、通常のforループが提供する一部の操作が制限されます。そのため、ループが実行する必要のある操作とユーザーの選択に完全に依存します。
参考文献
- https://stackoverflow.com/questions/16504062/how-to-make-the-for-each-loop-function-in-c-work-with-a-custom-class

