Strapi installation and configuration for Production on Ubuntu 22.04
In the beginning
Strapi is a JavaScript-based, open-source Content Management System (CMS) that doesn’t have a default frontend. It provides an API for designing your content structure and supports various frameworks such as React and Next.js for website development. Furthermore, you have the flexibility to select between a REST API or GraphQL to consume the API.
In this guide, you will learn how to install Strapi and prepare a production environment to start generating content. Despite Strapi using SQLite during development, you will customize it to utilize PostgreSQL. Additionally, you will deploy your Strapi application behind an Nginx reverse proxy and employ the PM2 process manager for reliable uptime. Lastly, you will enhance the security of your Nginx connection by implementing Let’s Encrypt.
Requirements
In order to proceed with this tutorial, there are certain things that you will require.
- An Ubuntu 22.04 server set up by following our Initial Server Setup GuideStrapi recommends a server with at least 2 CPU cores and 4GB of RAM. This tutorial will assume your server meets the recommended hardware specifications.
- Node.js version 16.xx installed on your server. Follow Option 2 in our How To Install Node.js on Ubuntu 22.04 tutorial.Make sure to replace version 18.xx with 16.xx via the PPA option. Strapi may not work properly with Node versions beyond 16 at the time of this writing. Specifically, Node v16.18.1 is used in this tutorial.
- PostgreSQL installed by following Step 1 of our How To Install and Use PostgreSQL on Ubuntu 22.04 tutorial.
- Nginx installed and configured as a reverse proxy. Follow Steps 1 and 2 of our How To Configure Nginx as a Reverse Proxy tutorial.When configuring the address of the application server to proxy, use http://localhost:1337 as the app_server_address.
- A domain name pointed at your server’s public IP. This will be configured with Nginx to proxy your application server.
Once you have Node.js version 16, Nginx, and Postgres installed on your server, you can proceed with the tutorial.
First, set up your Postgres database.
A database is essential for every Strapi project. Presently, Strapi is compatible with MySQL, MariaDB, SQlite, and PostgreSQL. The official documentation provides information about the minimum version requirements. Additionally, Strapi necessitates a new database, hence you cannot utilize an already existing database for your Strapi instance.
To start with, establish a database.
- sudo -i -u postgres createdb strapi-db
Next, establish a user account specifically for your database.
- sudo -i -u postgres createuser –interactive
Enter name of role to add: sammy Shall the new role be a superuser? (y/n) y
By default, when using PostgreSQL, you verify your identity as a database user through the Identification Protocol or ident authentication method. This process involves PostgreSQL using your Ubuntu username as the database username. While this adds an extra layer of security in most situations, it can create problems when you want to establish a connection between an external program like Strapi and one of your databases. To overcome this, you need to assign a password to the PostgreSQL role in order to enable Strapi to connect to your database.
You can access the PostgreSQL prompt by opening it from your terminal.
- sudo -u postgres psql
From the PostgreSQL prompt, modify the user profile by assigning a robust password of your preference.
- ALTER USER sammy PASSWORD ‘postgres_password‘;
To exit your PostgreSQL user, simply enter “\q” in your terminal.
- \q
Once you have created your database and user credentials, you can proceed with the installation of Strapi.
Second step – Setting up Strapi on Your Server.
To successfully install Strapi on your server, simply input the given command:
- npx create-strapi-app@latest my-project
To proceed with the installation, please confirm with a “yes”.
Once you confirm your selection, you will be able to interact with an installation. Ensure that you modify the Database name, Username, and Password correctly as you choose the following options.
? Choose your installation type Custom (manual settings) ? Choose your preferred language JavaScript ? Choose your default database client postgres ? Database name: strapi-db ? Host: 127.0.0.1 ? Port: 5432 ? Username: sammy ? Password: postgres_password ? Enable SSL connection: No
The SSL connection will not be activated at this time. It will be set up and acquired using a Let’s Encrypt certificate in the later part of the tutorial. Strapi installation will commence once you have made your choices.
After the installation is finished, you can proceed with developing your Strapi project.
Firstly, ensure that you are in the my-project folder.
- cd my-project
Afterward, execute the subsequent instruction:
- NODE_ENV=production npm run build
> my-project@0.1.0 build > strapi build Building your admin UI with production configuration… ✔ Webpack Compiled successfully in 35.44s Admin UI built successfully
Running this command will construct your Strapi project, which includes the Strapi admin user interface.
To test your Strapi server, you can now execute the following command to directly launch it:
- node /home/sammy/my-project/node_modules/.bin/strapi start
[2022-11-21 13:54:24.671] info: The Users & Permissions plugin automatically generated a jwt secret and stored it in .env under the name JWT_SECRET. Project information ┌────────────────────┬──────────────────────────────────────────────────┐ │ Time │ Mon Nov 21 2022 13:54:24 GMT+0000 (Coordinated … │ │ Launched in │ 1603 ms │ │ Environment │ development │ │ Process PID │ 4743 │ │ Version │ 4.5.4 (node v16.18.1) │ │ Edition │ Community │ └────────────────────┴──────────────────────────────────────────────────┘ Actions available One more thing… Create your first administrator 💻 by going to the administration panel at: ┌─────────────────────────────┐ │ http://localhost:1337/admin │ └─────────────────────────────┘
Provided that you have followed the necessary requirements, Nginx has been configured as a reverse proxy for accessing Strapi’s default address at http://localhost:1337. To see the default Strapi landing page, simply type http://your_domain on your browser.
The current setting of this command is using Strapi’s development mode. It also depends on a terminal command, which is not appropriate for production. In the next phase, you will include production configurations into a process manager known as PM2.
To leave your server, simply hit the CTRL+c key combination.
Once you have Strapi installed, you can proceed to configure PM2 to run your server as a background service.
Step 3 involves the installation and setup of PM2.
Instead of manually starting the server, you can depend on PM2 for handling this task. To learn more about PM2 and configuring a Node.js application ready for production, refer to our comprehensive guide. PM2 ensures that your server remains operational without the need for manual startup, guaranteeing uninterrupted service.
To begin with, ensure that you are in the highest-level directory.
- cd ~
Afterwards, use the following command to install PM2:
- sudo npm install pm2@latest -g
Next, use your preferred text editor to create a configuration file for PM2. In this example, nano is utilized.
- sudo nano ecosystem.config.js
Please include the provided information in the file by making the necessary modifications to the project directory name, path, database name, user, and password.
module.exports = {
  apps: [
    {
      name: 'strapi',
      cwd: '/home/sammy/my-project',
      script: 'npm',
      args: 'start',
      env: {
        NODE_ENV: 'production',
        DATABASE_HOST: 'localhost',
        DATABASE_PORT: '5432',
        DATABASE_NAME: 'strapi-db',
        DATABASE_USERNAME: 'sammy',
        DATABASE_PASSWORD: 'postgres_password',
      },
    },
  ],
};
Once you have made changes to the PM2 configuration, close the file. In case you are using nano, simply press CTRL+x, followed by y, and then press ENTER.
To execute your Strapi instance in the background, use the given command.
- pm2 start ecosystem.config.js
[PM2][WARN] Applications strapi not running, starting… [PM2] App [strapi] launched (1 instances) ┌─────┬───────────┬─────────────┬─────────┬─────────┬──────────┬────────┬──────┬───────────┬──────────┬──────────┬──────────┬──────────┐ │ id │ name │ namespace │ version │ mode │ pid │ uptime │ ↺ │ status │ cpu │ mem │ user │ watching │ ├─────┼───────────┼─────────────┼─────────┼─────────┼──────────┼────────┼──────┼───────────┼──────────┼──────────┼──────────┼──────────┤ │ 0 │ strapi │ default │ N/A │ fork │ 22608 │ 0s │ 0 │ online │ 0% │ 30.3mb │ sammy │ disabled │ └─────┴───────────┴─────────────┴─────────┴─────────┴──────────┴────────┴──────┴───────────┴──────────┴──────────┴──────────┴──────────┘
If an application crashes or is terminated, applications running under PM2 will automatically restart. To initiate your Strapi instance at startup, execute the subsequent subcommand.
- pm2 startup
[PM2] Init System found: systemd [PM2] To setup the Startup Script, copy/paste the following command: sudo env PATH=$PATH:/usr/bin /usr/lib/node_modules/pm2/bin/pm2 startup systemd -u sammy –hp /home/sammy
A startup script is created and customized to automatically initiate PM2 and its managed processes on server startup.
Afterwards, replicate and run the command provided in the result using your own username instead of “sammy”.
- sudo env PATH=$PATH:/usr/bin /usr/lib/node_modules/pm2/bin/pm2 startup systemd -u sammy –hp /home/sammy
Next, preserve the list of PM2 processes.
- pm2 save
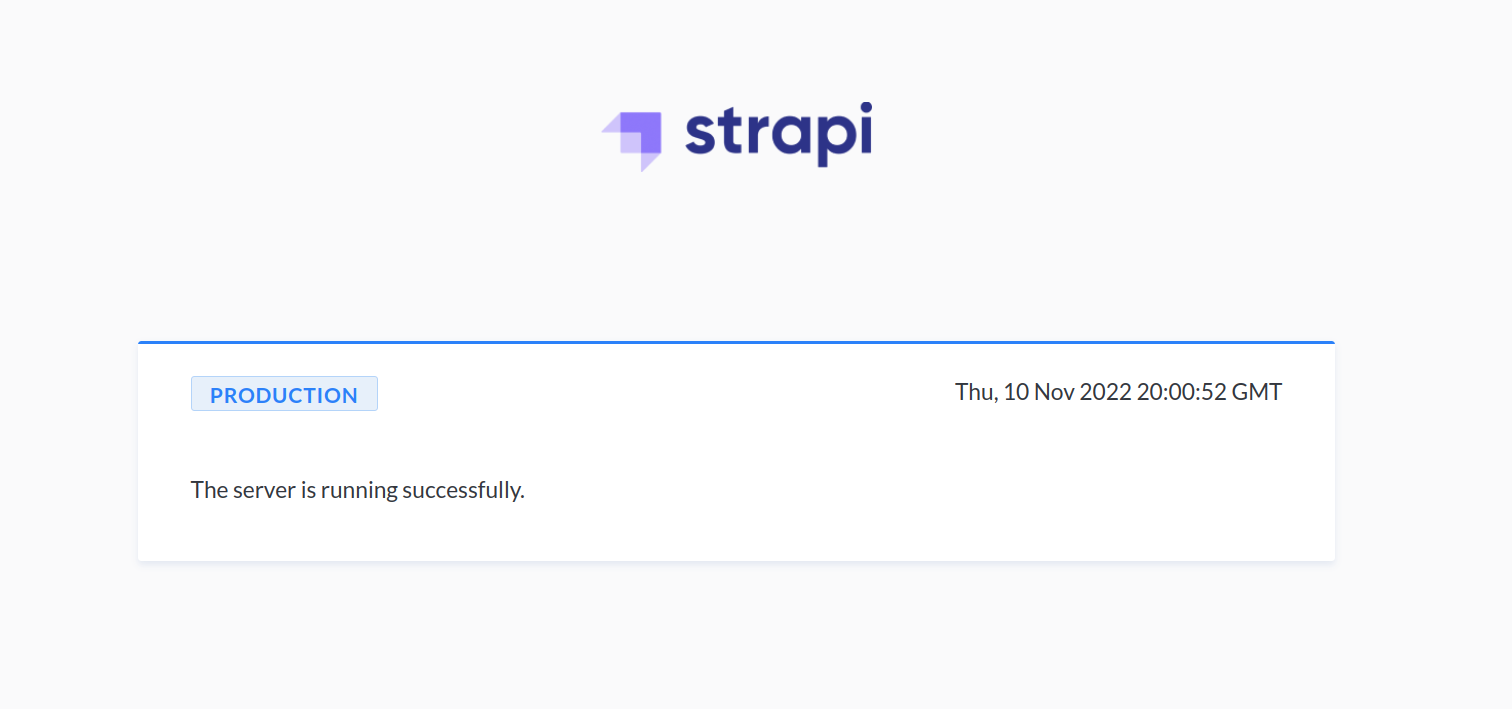
Strapi is currently running in production mode on your server with the PM2 service in operation. After returning to http://your_domain, you can observe this.

Once PM2 is actively operating your server behind the scenes, you can proceed to complete the process of securing your Strapi instance.
Step 4 – Implementing Strapi security through Let’s Encrypt
When you accessed your domain to see the Strapi landing page, you might have observed that the URL uses http:// instead of https://, indicating an insecure connection.
To ensure the security of your Strapi instance, use the following command to enable Let’s Encrypt.
- sudo snap install –classic certbot
Create a connection between the certbot command in the snap installation directory and your path, enabling you to execute it by simply typing certbot.
- sudo ln -s /snap/bin/certbot /usr/bin/certbot
Next, enable the Nginx Full profile and permit traffic over HTTPS.
- sudo ufw allow ‘Nginx Full’
Remove the unnecessary Nginx HTTP profile permission.
- sudo ufw delete allow ‘Nginx HTTP’
Next, utilize the Nginx plugin to acquire the certificate by entering your domain address.
- sudo certbot –nginx -d your_domain -d www.your_domain
When executing the command, you will be asked to provide an email address and give consent to the terms of service. You can choose whether or not to join an email list. Once you complete this step, you will receive a confirmation message indicating the successful completion of the process and informing you about the location where your certificates are saved.
. . . Successfully received certificate. Certificate is saved at: /etc/letsencrypt/live/your_domain/fullchain.pem Key is saved at: /etc/letsencrypt/live/your_domain/privkey.pem This certificate expires on 2023-02-05. These files will be updated when the certificate renews. Certbot has set up a scheduled task to automatically renew this certificate in the background. Deploying certificate Successfully deployed certificate for your_domain to /etc/nginx/sites-enabled/your_domain Successfully deployed certificate for www.your_domain /etc/nginx/sites-enabled/your_domain Congratulations! You have successfully enabled HTTPS on https://your_domain and https://www.your_domain . . .
Go to http://your_domain. You will be redirected to the HTTPS version of your website. Additionally, you can observe that Strapi is operating in production mode.
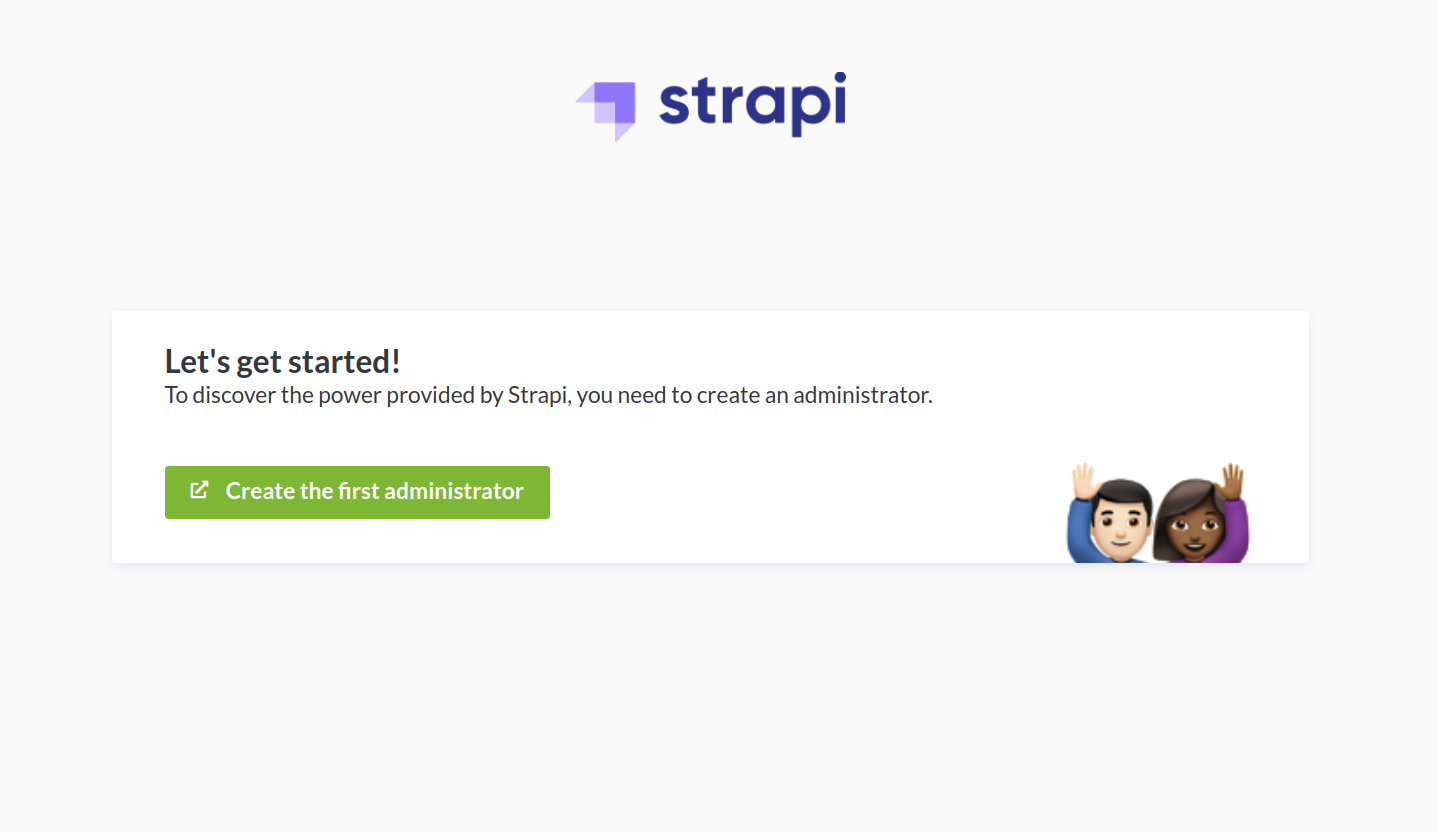
To create your Strapi administrator account, you can proceed to https://your_domain/admin for navigation.
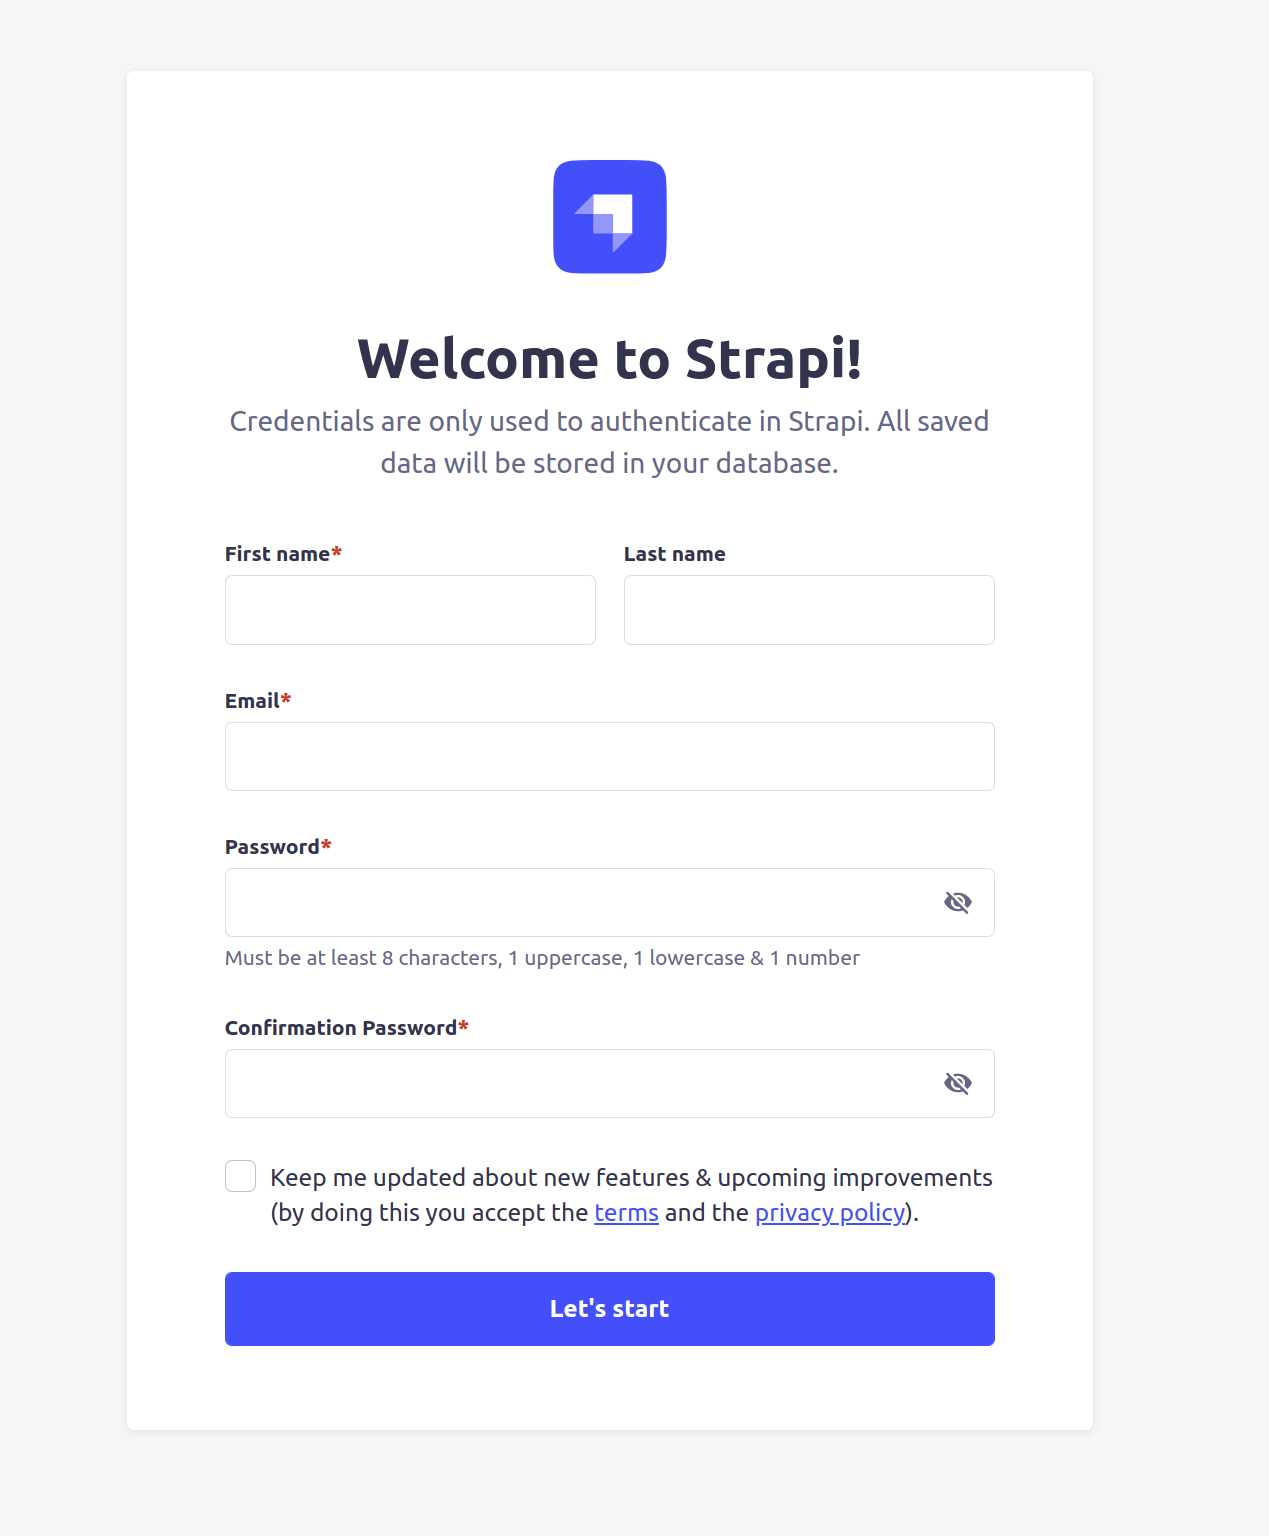
Once you have entered your new login details, you will be able to access the administrative dashboard.

You can begin crafting content on Strapi directly from the dashboard.
In summary, to conclude
You will learn in this tutorial how to configure a Strapi production environment utilizing a PostgreSQL database. Additionally, you will deploy your Strapi application with the assistance of an Nginx reverse proxy and maintain server stability with the PM2 process manager.
Once you have successfully established your Strapi server, you may begin generating content through the Strapi administrative dashboard. For further guidance on setting up and customizing your Strapi application, refer to the official documentation provided by Strapi.
More tutorials

